Explore the role of raw honey in functional nutrition. Learn about the antioxidant properties and synergy of premium...
Search in blog
Blog categories
Latest posts

Nature's Elixirs: Guide to Preventative Nutrition & Functional Raw Honey Blends
Read more

Recipe for a Delicious and Healthy Saffron-Honey Cake Read more
Recipe for a Delicious and Healthy Saffron-Honey Cake Want to make a delicious and healthy saffron-honey cake? Follow...
 - A Step-by-Step Guide")
The Ultimate Medovik Recipe (Russian Honey Cake) - A Step-by-Step Guide Read more
Learn to bake the famous Medovik layer by layer. This classic Russian dessert, with its soft honey biscuit and creamy...

Garlic and Honey for Weight Loss and Immunity: Recipe, Benefits & Science Read more
Learn how the garlic-honey synergy boosts immunity and aids weight loss. A deep dive into biochemistry and...

The Secret to Perfect Stretchy Mozzarella: A Scientific Guide for Pizza Lovers Read more
Does your mozzarella refuse to stretch or just burn? The secret is science. From "pasta filata" to the crucial role...
Popular posts

Honey and Diabetes: From Molecular Mechanisms to Clinical Consumption Protocols
A comprehensive scientific review of honey's role in diabetes management. From its effects on cellular pathways and...
Read more
Honeyhub: Leading Provider of Natural Honey Products in Iran
Honey Hub is a leading supplier of natural bee products in Iran. We offer a wide range of bee products, as well as...
Read more
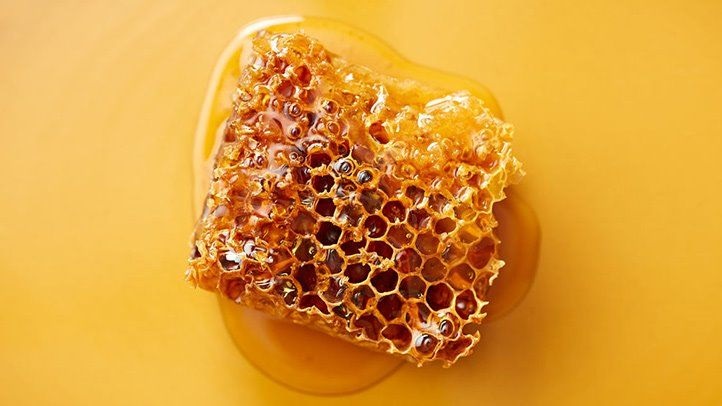
The Amazing Composition of Raw Honey | Why Are Honey Enzymes Important?
Raw honey is a combination of amazing nutrients that also includes multiple enzymes. These enzymes play an important...
Read more")
Royal Jelly: A Science-Backed Guide to Benefits, Dosage, and Side Effects (2025)
Discover the potent superfood that creates queen bees. This complete guide explores royal jelly's science-backed...
Read more
Everything you need to know about honey
Honey is a natural and healthy food that has many health benefits. In this post, we will give you complete and...
Read moreFeatured posts
Nature's Elixirs: Guide to Preventative Nutrition & Functional Raw Honey Blends
Explore the role of raw honey in functional nutrition. Learn about the antioxidant properties and synergy of premium...
Read more Recipe for a Delicious and Healthy Saffron-Honey Cake
Recipe for a Delicious and Healthy Saffron-Honey Cake Want to make a delicious and healthy saffron-honey cake? Follow...
Read more The Ultimate Medovik Recipe (Russian Honey Cake) - A Step-by-Step Guide
Learn to bake the famous Medovik layer by layer. This classic Russian dessert, with its soft honey biscuit and creamy...
Read more Garlic and Honey for Weight Loss and Immunity: Recipe, Benefits & Science
Learn how the garlic-honey synergy boosts immunity and aids weight loss. A deep dive into biochemistry and...
Read more The Secret to Perfect Stretchy Mozzarella: A Scientific Guide for Pizza Lovers
Does your mozzarella refuse to stretch or just burn? The secret is science. From "pasta filata" to the crucial role...
Read moreBlog tags
honey pollen quality beehive flower honey bee production of honey bee products medicinal properties of honey lemon elixir religions treatment of honey bee diseases reduce inflammation flu beekeeping boost the immune system food colds us beekeeping report anti-inflammatory prevention of honey bee pests wax
Photo gallery
-

Desktop Images
-

گل خارشتر
-

گل توری
-

موسیر
-

جغجغه
-

گل های مرتعی در ارتفاعات گر...


Latest comments